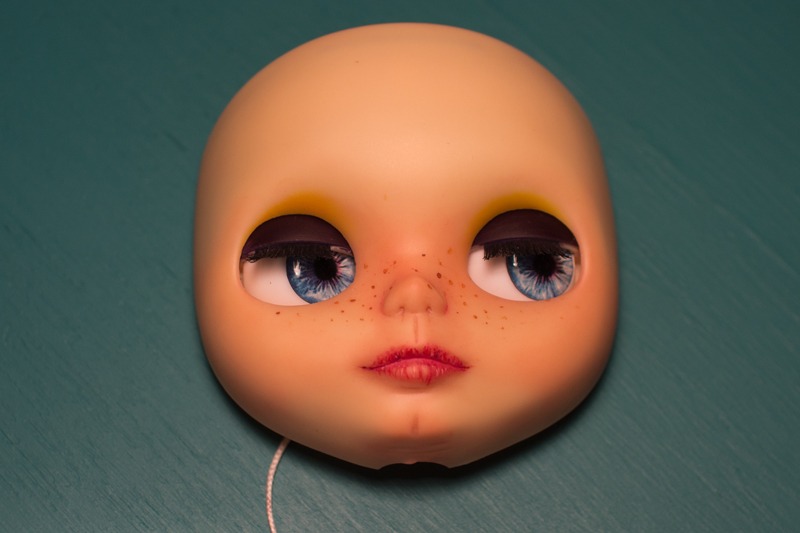
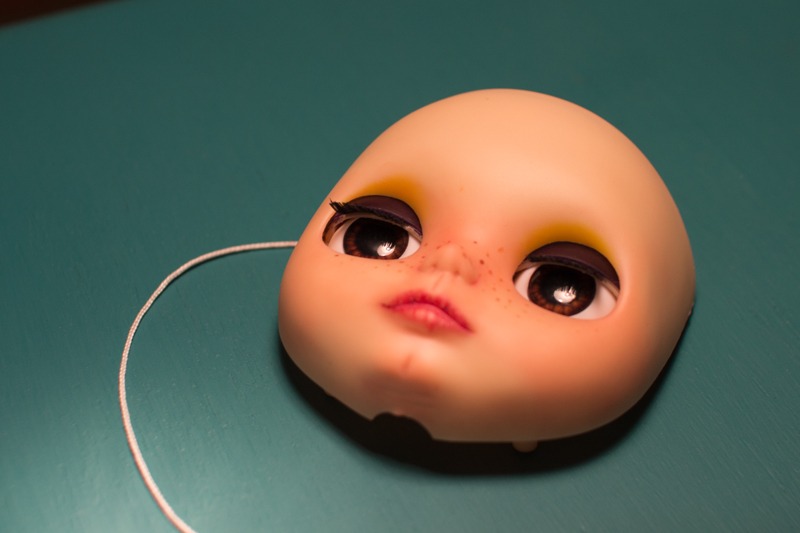
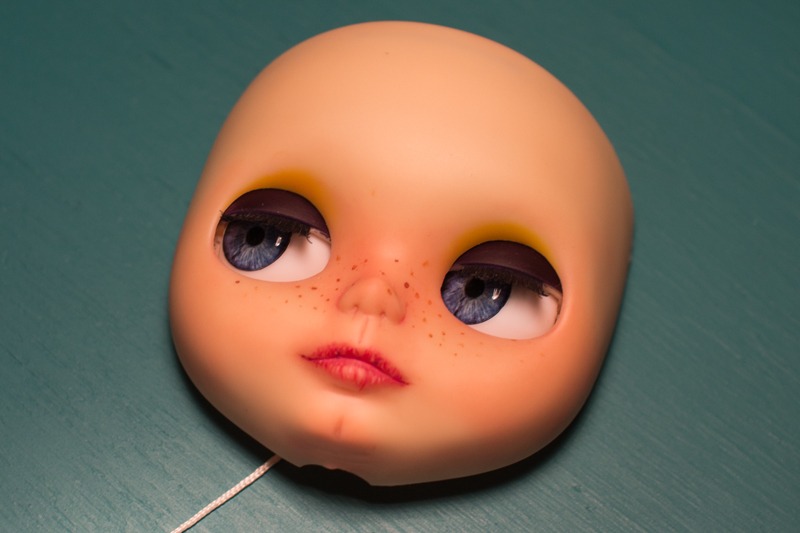
Finally I have learned to do a Blythe faceup.
This was my second attempt. The first ended up looking … kind of mehh… so I decided to take things much slower this time. Going slowly made a huge difference. Watching this youTube video by Gisele Bianchini was also very helpful. It helped that if anything went wrong with adding the colour I was able to sand it all off in a few seconds.
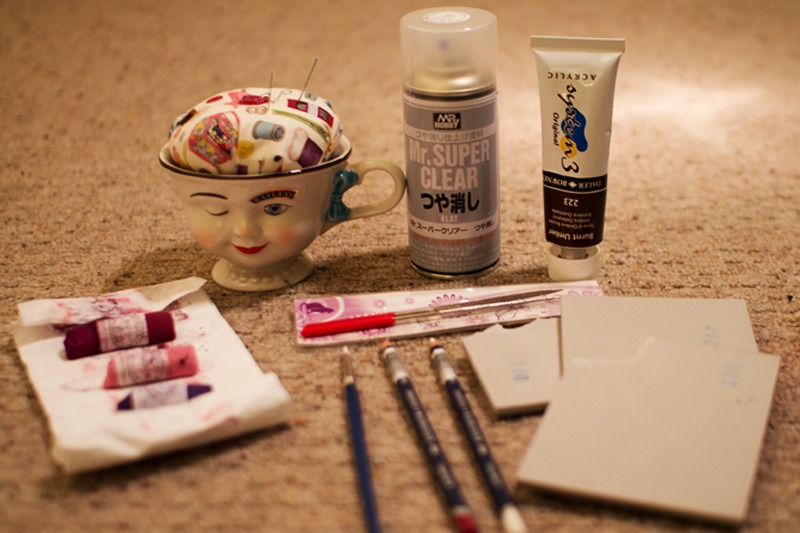
These are the tools I’ve used:
 Clockwise from the top left >sewing needle >Mr. Super Clear >Brown Acrylic Paint >Diamond Needle Files >Sanding sponges >Acrylic pencils (White and Dark pink) >Paint brush > Chalk (Purple for eyelids, Light pink for lips and cheeks and Dark pink for lips)
- I shaped the lips, nostrils, philtrum and chin using a set of Diamond Needle Files Set from CoolCat and a packet of 3 sanding sponges from Fimo.
- The eyelids are painted in thick layers of purple chalk mixed with a minuscule amount of water and sprayed with MSC between each layer of chalk.
- The inside of the eye sockets had to be filed/sanded also – to prevent the paint on the eyelids scraping off when moving.
- The lips were rubbed with chalk and lines drawn with watercolour pencils following the tutorial by Miseducated. I had a very hard time getting the chalk to add any colour to the lips. Next time I’m thinking acrylic might be a better idea.
- The colour across the cheeks, nose and chin was rubbed in with chalk. This is the only time I found the chalk working for me.
- The freckles were done with acrylic. All the tutorials I came across suggested using a tooth pick. I couldn’t find any so I improvised with a thin sewing needle and cotton wool to blot.
- The eye-shadow came with the faceplate originally. I just sanded this back a little.
- Everything received 5 layers of Mr. Super Clear to seal and finish.


